Heat and Sun Damaged Plant Care
Is my sunburned plant dead?

The recent heat wave fried a lot of gardeners and a lot of plants too!  Just because a plant’s leaves are scorched does not mean the plant is dead. 

There are two ways plants can be damaged by the intense heat and strong sun.  To understand what happens to plants in extreme sunlight and heat, consider what happens to humans.  Strong sun makes us thirsty and we get sunburned.  It is the same with plants! 

CAUSES OF SUN STRESS ON PLANTS

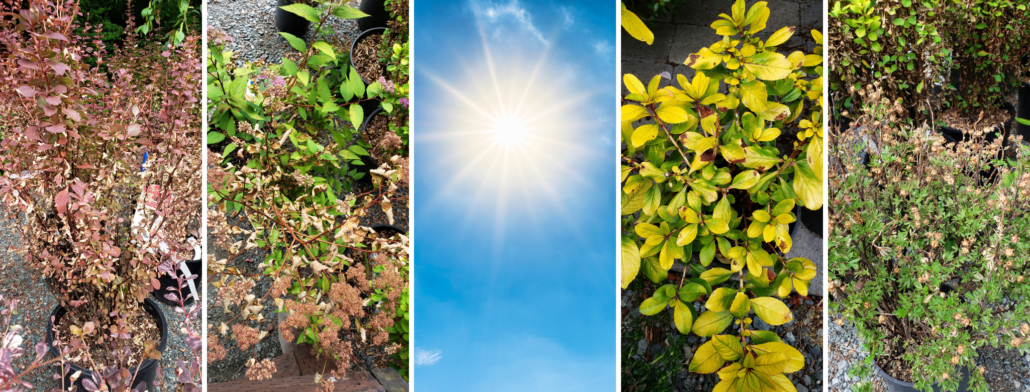
Plants need water to live.  Roots take water from the soil, and it is drawn up through the plant to the foliage.  If the hot sun dries out the soil, and there is no water for the plant to take up, the leaves will wilt.  If the situation persists the leaf tissue, and then the stem tissue, will be damaged.  It will eventually turn a crunchy brown. 

Just like strong sunshine fries your skin tissues with the UV rays, plant leaf cells can be damaged by UV light – especially when there is a sudden change in the intensity of light (like because of a massive heat wave, or when you move a plant from shade to sun).  This damage doesn’t necessarily correlate to moisture availability; even plants with adequate water can have scalded leaves.  Intense UV can even scald the bark (and along with it the vascular tissue that lies just underneath) of thin-skinned trees such as Japanese Maples.  This can result in more extensive damage: whole stems and branches supported by that scalded section of bark can die, due to disruption of the water supply due to the damage to the vascular tissue.

WHAT TO DO ABOUT SUN DAMAGED PLANTS

Is it dead or will it revive? 

If a plant was drought-stressed and has a few crunchy leaves, it may enough to cut back the damaged tissue and give it a deep drink.  If the damage is extensive – lots of dead stems with crunchy tips – you may need to cut the plant back to the ground and hope it regrows.  If you aren’t sure whether to cut or not, try bending the tips.  If they are flexible, then leave them alone – they aren’t dead!  If they snap off, they are dead and you can cut back until you reach flexible tissue.  You can also try the scratch test: scrape the bark in a small area with your fingernail or a knife.  If it is green, there is life.  If it is brown, it is dead.

If you kept your plant well-watered during the heat but nonetheless its foliage is turning white, or brown and crunchy, the best solution is to remove the damaged leaves.  If the burn is not from this heat wave, but because you recently moved your plant from shade to sun, you may want to leave the damaged foliage in place until the plant has had a chance to acclimatize.  A gradual introduction to more intense sunlight is preferred; that gives the plant time to “toughen up” the cells to tolerate more sunshine.

In either case, make sure the soil is moist.  Consider applying a dilute solution of an organic liquid fertilizer that is high in Nitrogen (like a 4-0-1 or 3-2-3 fish emulsion).  Maintain even soil moisture and you should see signs of life returning in 2 – 4 weeks. 

If after 6 weeks there is no sign of life, it could mean mean that the root system was damaged by desiccation and got too dry to regrow, or that damage to the plant tissues was too extensive to recover from.  Then it is time to visit the nursery for a replacement!

CONIFERS ARE A SPECIAL CASE

The above treatment works for perennials, grasses, and deciduous woody shrubs.  Conifers require different treatment.  Most conifers will not back-bud.  This means they will not make new growth on bare branches or the trunk.  If you cut them back, you may be removing their growing tips, and can cause permanent damage.  If your conifer has brown crunchy foliage, simply remove the dead foliage without cutting back any branches.  Give the plant a steady supply of water and see if new needles appear in the next several weeks.  If after 6 weeks, there is no sign of life, it may mean you need to visit your local nursery for a replacement plant.

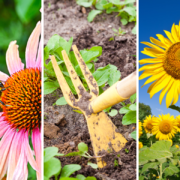
Summer Garden Maintenance Tips

Summer is peak season in our landscapes!  Gardeners and plants alike are working hard.  Get the most from your efforts and help your perennials, shrubs and trees do their best.  Follow these tips for a lush, healthy, productive landscape through the summer and beyond.

Watering

Appropriate watering is critical to keeping plants growing and healthy.  It is also important to consider our natural resources, and water as little as we can get away with while keeping our plants healthy.  The best way to do this is to not water too early.  When we water a lot at the beginning of summer we “train” our plants to be lush.  Then, when the real heat and drought stress of summer sets in, our plants have a hard-to-sustain amount of foliage.  We are forced to water like crazy to help them sustain this growth.  Cultivate more resilient plantings by being conservative with supplemental water during May and June.

To really understand how much to water, it helps to know the needs of each plant as well as what kind of soil you have.  In general, it is best to water deeply and less often, versus frequent and shallow.  Watering slowly/at a low rate, and for a longer duration of time, ensures the water soaks deeply through the root zone.  This helps roots establish in the soil horizons that stay moist and cool.  In contrast, short shallow waterings encourage plants to root only in the top few inches of soil.  This is the layer that is first to dry out in the heat of the sun.  So set the hose on a trickle, place it at the crown of your plant, set a timer for 30 minutes to a few hours depending on the size and type of plant, and address other garden tasks while your plants get a nourishing deep drink.

Established gardens need less water than new plantings.  In established beds, hopefully you can get away with watering just every couple of weeks or once per month during the summer.  Of course, this depends on what types of plants you are growing.  Not all plants are drought tolerant.  Support these plants with less-frequent deep soakings to keep them going. 

New plantings will need watering to help them through the hot dry months of summer.  In general, perennials take 1 – 2 (rainy, wet) winters to really establish in the garden.  Shrubs need 2 – 3 winters, and trees need 3 – 5.  Any plants in your garden that are younger than this will need extra water to get established.  In an ecologically ideal gardening world, we would be choosing drought-tolerant plants that fit our summer-dry climate.  But even these plants need help to get established.  Once established, it is possible to have a low-water or water-free garden!

Sandy soils do not hold water well.  Gardeners with sandy soils will need to water more often, and for shorter duration since the water will run through.  Help sandy soils hold water by adding organic material.  Compost or Soil Building Conditioner is great for this. 

Clay soils retain water, but it can hard to get the water to penetrate.  Slow and steady is best here.  Long trickle soaks are best.  A slow steady trickle allows the water to permeate the clay and soak in, rather than running off.  Add lots of organic material as well as calcium carbonate lime to help clay soils break up/form soil aggregates.  As with sandy soils, compost or Soil Building Conditioner is great for this.

Feeding

In general, spring is the best time to fertilize.  The exception to this is flowering annuals and veggies.  It is good to feed these plants through the summer to keep the production – of blooms and fruits – coming.  A liquid bloom-booster fertilizer is great.  I like to give dilute amounts with each watering (according to package instructions).  With any plant you plan to overwinter, it is best to stop fertilizing by early August to allow plants to harden off.

Weeding

It is always important to stay on top of weeding!  Eliminating weeds means that your desired plants get all the water and soil fertility resources for themselves.  Removing weeds before they set seed means fewer weeds next year! 

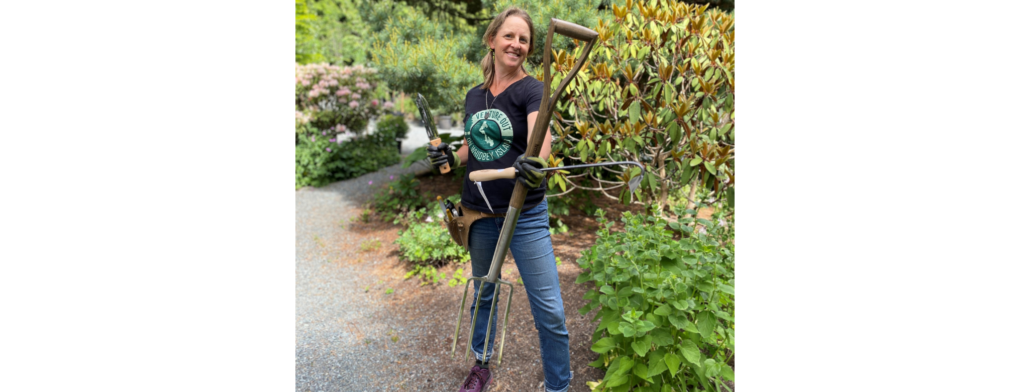
My three most favorite weeding tools are a hori-hori (a Japanese weeding knife), a spading fork, and a triangle hoe weeder.  The hori-hori is great for digging out tap-rooted weeds.  Spading forks are indispensable for colonizing plants like Buttercup and Sorrel that propagate from root pieces.  A fork will loosen the soil without cutting the roots, enabling you to remove the whole root mass while leaving little root system behind to propagate.  The sharp triangle hoe weeder is great for slicing annual weed seedlings off just below the soil surface.  You can also use the long point for jabbing out root masses of older more established weeds.

Mulching

Keeping soils covered with an organic mulch such as soil building conditioner or compost or woodchips is a great way to help retain soil moisture and suppress weeds.  For more information about mulching, and which products are a good fit, watch this video!

Deadheading

Keep the blooms coming all summer – deadhead!   Flowers are the reproductive organ of a plant; their job is to attract pollinators and create seeds.  Once this job is through, the plant will direct its energy to ripening the seed.  If it is flowers you want, remove fading blooms to encourage your plant to continue to bloom.  This is especially important for the flowering annuals we use for big show, like Geraniums and Petunias, etc.  But it still holds true for perennials and shrubs.

Harvesting

Like deadheading, keep harvesting all your summer veggies to keep more coming.  Remove the fruit at its peak, before the seeds inside ripen, and your plant will be signaled to keep going. 

Summer pruning

Growth vigor of trees and shrubs winds down in July and August.  This can be a great time to lightly prune plants that are prone to a vigorous, suckering response.  Trees such as Magnolia, Plum, Cherry, Apple, Crabapple, Japanese Maples, Dogwoods, Styrax (this is the short list; there are others) benefit from being thinned and shaped in summer even more than in winter.

Disease control & Insect management

Unlike gardeners, plants can’t go jump in a lake, or retreat to the hammock with a cool beverage when summer just gets to be too much.  All the hard work of summer can be hard on a plant.  This can leave them vulnerable to insects, fungus and other random ailments.  Keeping your plants mulched and watered (and fertilized if needed) is the best way to prevent issues, but sometimes help is needed.  Organic controls are always my first line of defense.  Insecticidal soap is great for most soft-bodied insect infestations such as aphids and leafhoppers and whitefly.  Sluggo is an iron-based slug repellant that is safe for cats, dogs and birds.  Organocide, a sodium bicarbonate-based spray, is great for Anthracnose, Black Spot, Powdery Mildew and other diseases.  These low-toxicity options are a great place to start.  Treat at the first sign of disease.

Planting a Vegetable Garden in the Pacific Northwest

Here in the temperate Pacific Northwest, we have conditions favorable for a lot of great edible plants, but more challenging for others. We can grow cool season veggies like nobody’s business. Peas, lettuces, collards, kale, cabbage, broccoli, brussels sprouts, and the like are made for our weather. We struggle more with veggies that like heat or long growing seasons like tomatoes, corn, melons, and peppers, though they are not impossible, they just require more care and consideration.

Western Washington falls into USDA Hardiness Zones 6-9, so planting recommendations will vary a bit depending on where you are exactly. Here on Whidbey Island, we are in Zone 8b. You can find your Hardiness Zone HERE, this will come in handy for understanding which plants will do best for you and when to plant them based on the temperature range.

The very first thing you will need to do to plant an annual vegetable garden is make sure that you’ve got good soil ready to plant into. Here on Whidbey and much of the PNW we have either very sandy/rocky soil or hard clay soil. Either type will need a lot of amendments to grow vegetables, which generally require a rich, loamy, well-draining soil. If you want to try to make your native soil better, first get a soil test to tell you what you need to add to make it more hospitable. If you would rather avoid the work of building your native soil you can instead create raised beds or garden in pots or planters, using a pre-mixed soil for the purpose of gardening, such as G&B Organic Raised Bed soil. Even with pre-mixed soil you will still want to read up on what you’re planting, as some crops will need more fertility than others, and if you want to continue to use the same soil for many years there are considerations for that as well.

Once you have a place for your plants to live, you can begin to plan what to grow. It is easy to get excited and want to grow a little of everything, trust me! A good strategy for choosing vegetables and other food plants, is to go through your fridge and pantry and find out what it is that your family eats most or finds most enjoyable. It can be a balancing act as well, if you’re limited for space or time in the garden, you’ll have to find what works best for you. My family eats a ton of garlic, onions, leeks, and potatoes. I’ve found that while I can grow garlic and leeks really well, I am not as successful with onions or potatoes in the quantities we would need, so rather than eat up a lot of my garden space I buy onions and potatoes from local farmers who can grow them better and in greater quantities. I can grow zucchini and other squashes enough for our needs, so I prioritize those over broccoli or brussels sprouts, which we love but take up a lot of space and are harder for me to keep pest free. A couple of cherry tomato plants fit nicely into our space, but for my large tomato canning projects I don’t have the space to grow as many as I would need so I opt to buy those as well. Perhaps you have a hard-to-find vegetable or fruit that you love? Maybe you can grow it yourself! We are big fans of hardy kiwi and ground cherries, but these are rarely found at the market, so we grow them. Don’t be afraid to experiment, try out lots of things, some will work great, and some may not, but that will just make next year’s garden a more likely success.

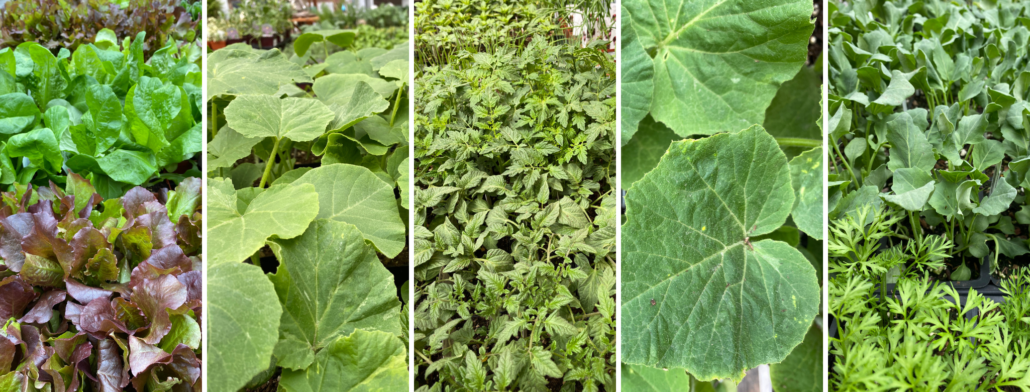
Once you’ve chosen what you want to grow the question becomes, to grow from seed or get starts? I found personally that starts are a great way to get used to gardening, as they are more likely to grow well, and you’ll avoid the pitfalls of seed starting. There are some things that do better from seed, such as carrots, beets, and other root veggies, so if you’re up for the challenge of growing from seed these would be a good place to start. Things like peas and beans do great as well. Some things, like tomatoes, peppers, and melons, which require an early start and a long growing season will have to be transplanted into the garden no matter what, so buying starts is the easiest way to go. But again, if you’re up for the challenge you can read up on starting your own seeds indoors in trays or pots. We’ve got a Video to help you too!

When to plant is the next question that arises. You will need to know the first and last Frost Dates for your region (find yours HERE). Once you know these dates you can plan when you can start planting and calculate when is the latest you can plant based on the length of time your chosen plant takes to grow and ripen. On seed packets or plant labels you’ll see when the best times are to plant them based on frost dates or just a range of dates. For starts you want the “transplant outside” date as opposed to seed starting date. Here is a great Planting Calendar for the PNW from Deep Harvest Farm right here on Whidbey. If you’re unsure, asking local Master Gardeners, nursery staff, or farmers can be helpful. There are lots of groups out there to help gardeners, people love helping others get into gardening!

Finally, you’re ready to plant! Having a few tools such as a small hand shovel, a hori hori, a larger shovel for bigger plants, a garden fork, gloves and a stool or knee pads can be helpful. Most gardeners have their favorites, my trusty garden fork is a go-to for me, as well as the hori hori. Follow instructions for each plant or seed, depth of planting as well as watering are important. Be ready to water regularly throughout the growing season, annual veggies especially need regular water, but not too much, and benefit from soaker hoses or ground level watering if possible, to avoid wetting the plants themselves. The cool, moist PNW weather is a recipe for fungal growth, so giving plants space for airflow and keeping them from getting too wet is important for plant health. Investing in a well-placed, good quality irrigation system can be a huge time saver as well as help to keep plants at their best.

Once your plants are in the ground it’s a matter of keeping them watered, well fed with fertilizer as needed, protecting from pests, and watching for potential health problems. If you’re like me, you’ll check on your little plant babies every day, watching them grow and change. Catching things early is best, so while visiting be sure to watch for pest nibbles, droppings, bugs or slug trails, yellowing or wilting leaves, fuzzy white or grey film, spots or anything that seems abnormal and then treat as necessary. There are lots of strategies for dealing with garden troubles but having an Integrated Pest Management plan can help to address them. WSU has a couple of pages dedicated to helping home gardeners manage common pests. Check out Hortsense for plant problems and weeds, and Pestsense for common indoor pests. Growing your own food at home can be challenging and rewarding. You’ll be getting fresh air, exercise, hands in the dirt, connecting with nature, and eventually fresh, healthy food. For some of you perhaps, this could be the beginning of a lifelong passion. We at Venture Out are here to help you along the way, with tools, plants, seeds, soil, fertilizers, education and advice – Happy Gardening!

If you’d like to start your own seeds in a greenhouse or sunny window, check out this video with Tobey Nelson for detailed instructions!

How to Prune a Shrub Rose

Horticulturist Tobey Nelson walks us through how to prune a shrub rose in winter. 

Late winter is the best time of year to prune a shrub rose. Follow these basic steps for success!

  1. Remove dead wood.
  2. Remove any canes that come from below the graft.
  3. Remove any branches that grow toward the interior.
  4. Remove weak and spindly growth.
  5. Remove any damaged, broken or diseased canes.
  6. Finish by deadheading the canes and consider cutting back by one third for height control, if desired.

Remember to always prune to an outward facing node, as Tobey describes in her video.

To learn more about Rose care, visit our How to Have Success with Roses blog post.

How to Prune a Hybrid Tea Rose

Horticulturist Tobey Nelson walks us through how to prune a hybrid tea rose in late winter. 

Late winter is the best time of year to prune a shrub rose. Follow these basic steps for success!

  1. Remove dead wood.
  2. Remove any canes that come from below the graft.
  3. Remove any branches that grow toward the interior.
  4. Remove weak and spindly growth.
  5. Remove any damaged, broken or diseased canes.
  6. Finish by deadheading the canes and consider cutting back by one half to two thirds for height control, to avoid long and leggy growth.

Remember to always prune to an outward facing node, as Tobey describes in her video.

To learn more about Rose care, visit our How to Have Success with Roses blog post. 

Strawberries 2021

Quinault

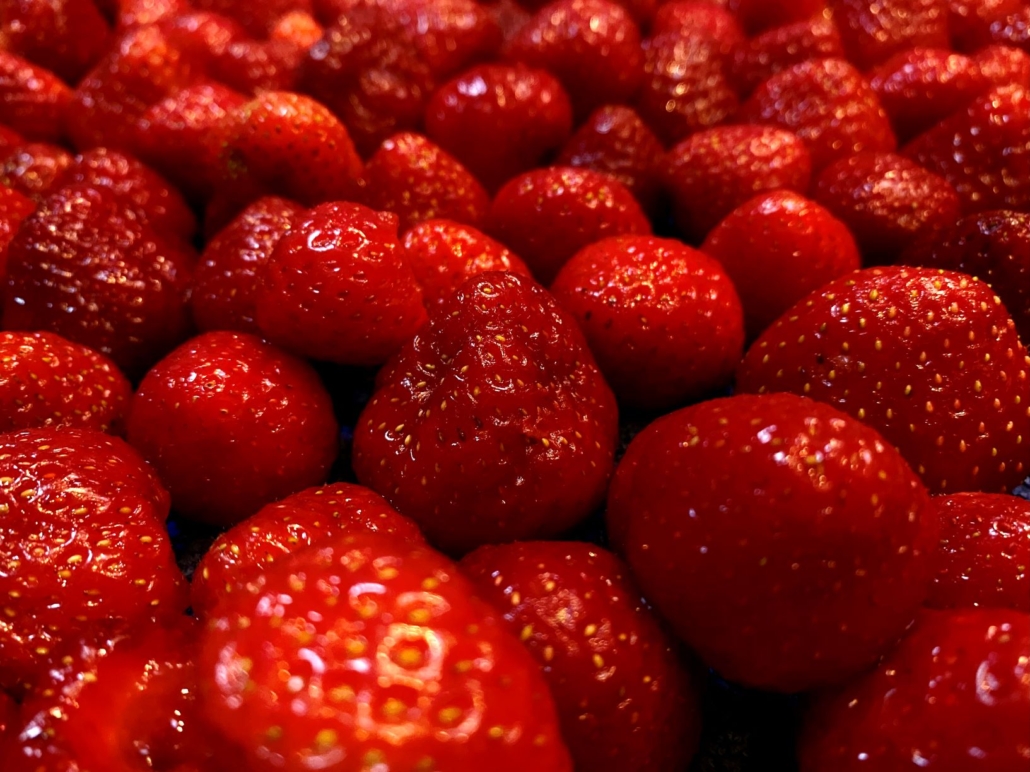
This everbearing strawberry produces large, soft, deliciously sweet fruits that are great for eating fresh and for making preserves. Quinault produces from late spring through fall.

Hood

A June bearing strawberry that produces medium, sweet, and juicy berries that are known for their high sugar content. Great for eating, preserves and freezing for mid-winter treats.

Rainier

This June bearing has delicious fruit that are disease resistant. Easy to grow, these plants have attractive foliage. Produces soft, large berries that are great fresh or processed.

Shuksan

This June bearing strawberry produces large, firm berries that are great for fresh eating and excellent for freezing and for preserves. Plants are hardy to -20 F.

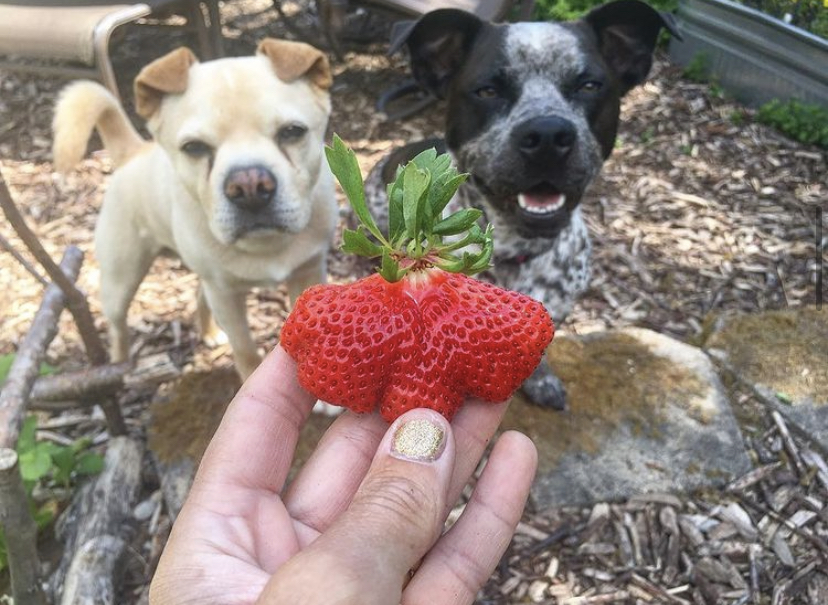
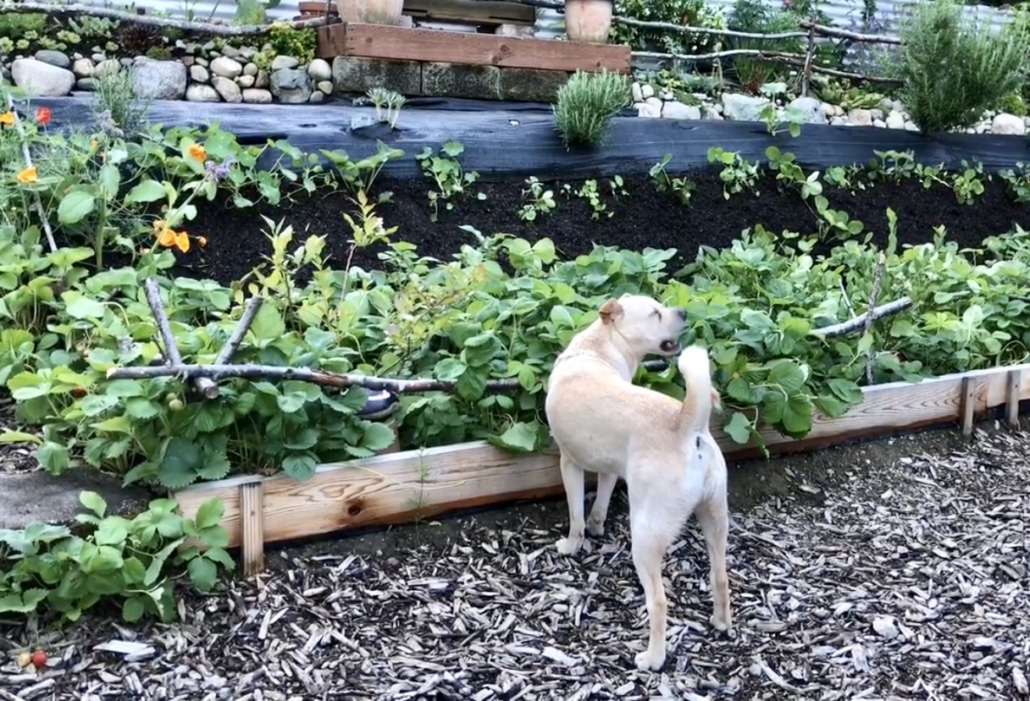
Regardless of the variety, many Strawberries are loved by (and safe for) dogs!!

Winter Gardening with Pollinators

We gardeners are stewards of the earth. We share our garden not only with plants, but with the many critters that depend on them. This includes pollinators! Many species of insects and birds act as pollinators, including hummingbirds, bees, hoverflies, moths & butterflies, and more. Since pollinators are inextricably linked to food security (so many of the foods we eat require pollination, such as all fruits, beans, squashes and more), we should all be concerned about their health. Many of the choices we make as gardeners can support these creatures. Here are a few simple ways that you can help your local pollinators.

Winter-flowering plants provide food for pollinators

One of the most fun ways to help local populations of pollinators is to include winter-flowering plants in your garden. Though most of these insects hibernate during the cold temperatures, they can awaken and become active on warm days. Having a nectar source is important; it provides nourishment to them.  Cheer yourself and feed these little friends with some of these winter flowers. Planting in groups can make it easier for these winged friends to find this food.

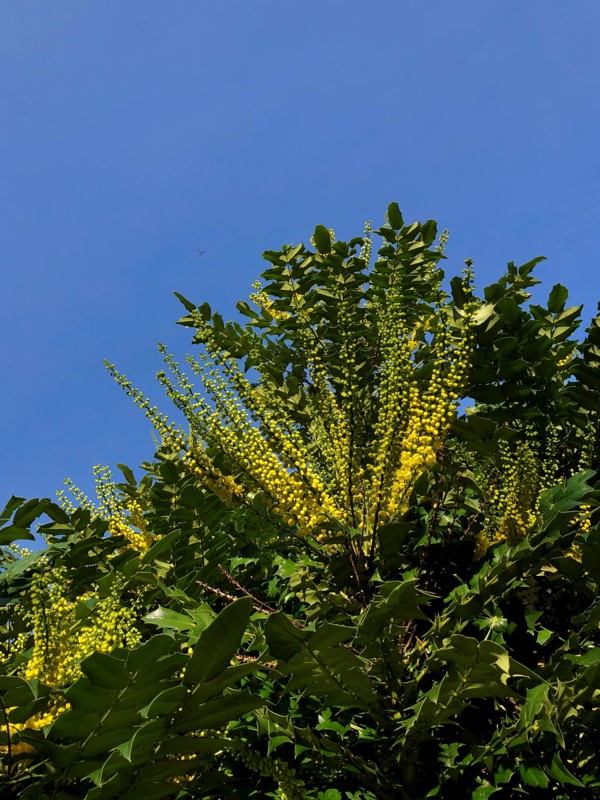
Mahonia

There are several species of Mahonia, or Oregon Grape, that you can plant in your garden.  Pictured is the large evergreen shrub Mahonia x media, which is the earliest to flower. No garden should be without one! Their bright yellow flowers in December thru February are loved by hummingbirds and gardeners alike. The best part for Whidbey Island gardeners is that the deer do not love this plant!

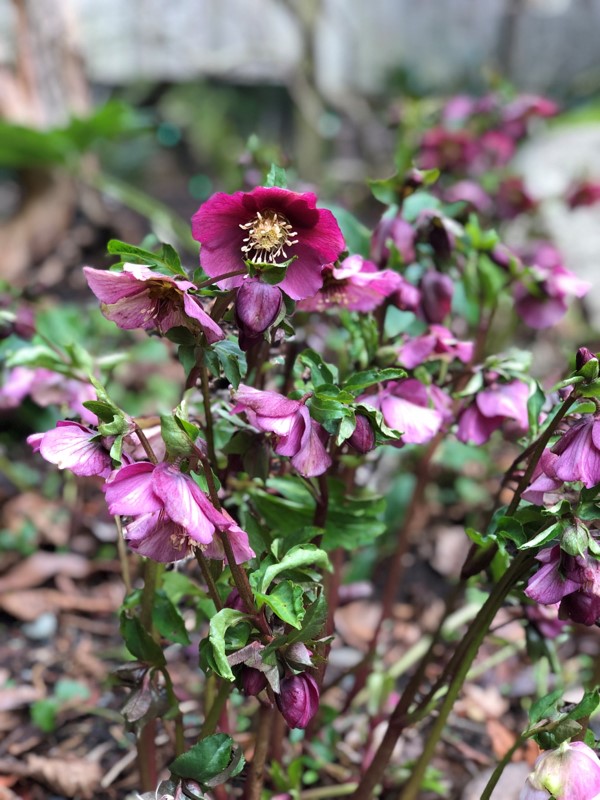
Hellebore

How about another indispensable garden plant?! This easy-to-grow evergreen perennial brings cheer and nectar with its blooms, from December through March in shades of white, cream, pink, red and even black! Another early flowering perennial worth including is Pasque Flower (Pulsatilla vulgaris).

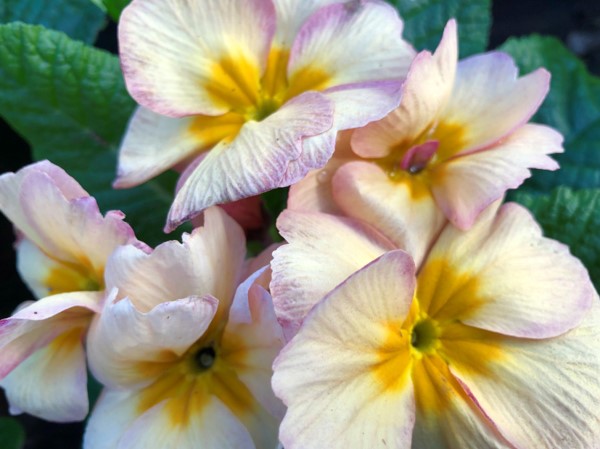
Primrose

These delightful perennial plants can be tucked in many little spots in the garden. Use them in beds as a groundcover or between deciduous perennials, or plant in pots for a spot of winter and early spring cheer. Other plants like this to include would be Cyclamen & Pansies.

Heather

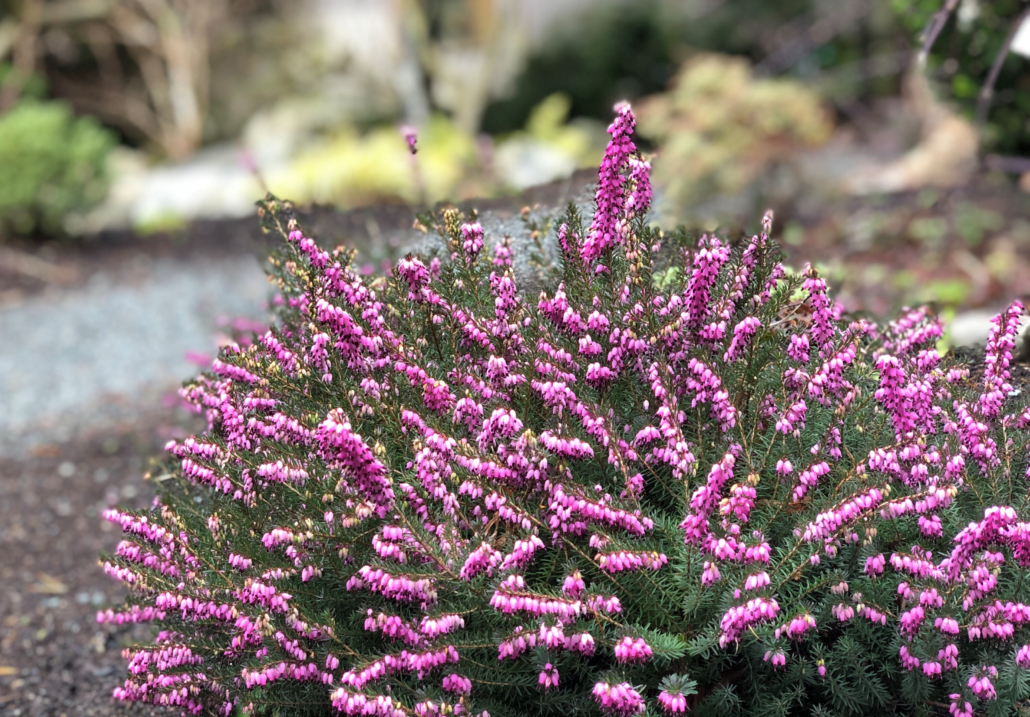
Here’s a true work-horse plant! Heathers and Heaths offer evergreen interest – especially if you choose a variety with golden or silver foliage – as well as flowers from fall through spring. These are drought tolerant and deer-resistant!

Winter & spring flowering bulbs

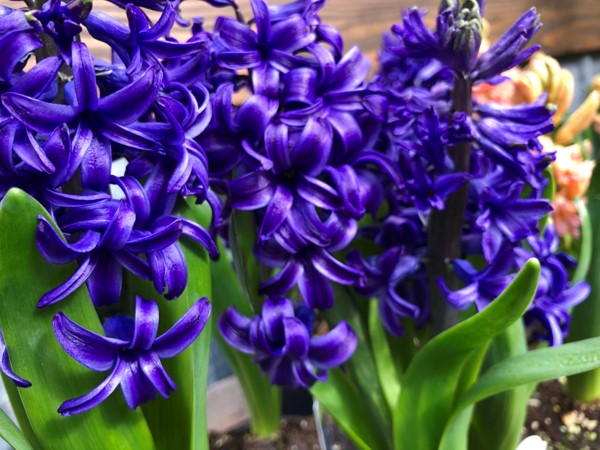
We can’t overlook the contribution that winter & spring flowering bulbs make to the pollinator menu. Well known blooms such as Crocus, Muscari, Dutch Hyacinth as well as lesser-known ones like Snowdrop (Galanthus) and Winter Aconite are fun to include in the garden and offer nectar as well.

Erysimum

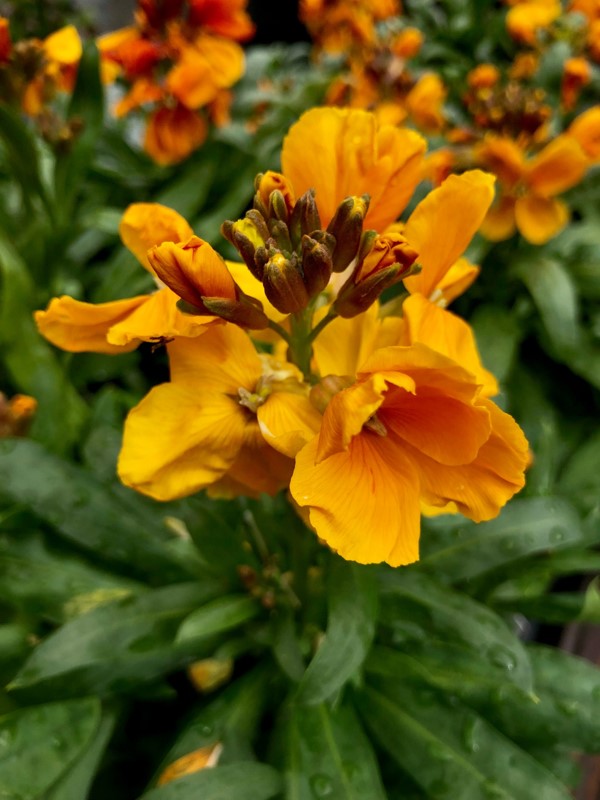
Deliciously fragrant Wallflower (Erysimum) is a treat for the nose as well as the pollinators.  These sun-loving, drought- and deer-tolerant semi-evergreen perennials are great for early color in the garden.

Other plants that are not pictured that are great sources of nectar include early flowering trees & shrubs, such as Witch Hazel, Forsythia, Cherries, Plums, Strawberry Trees (Arbutus), Abelia, Daphne, Cornelian Cherry (Cornus mas), Hebe and others.   

A “messy garden” is okay with pollinators! 

It is okay with many of these creatures if you aren’t a tidy gardener. “Messy gardens” can offer food and shelter. Plants that you didn’t deadhead can throw off the random bloom in the winter, offering a meal to any nectar-lovers flying by.

Loss of habitat is a leading reason for pollinator decline. Our gardens can help offset that loss. Random garden debris, such as leaf litter, spent stems, and curled up bits of bark and branches, offers shelter and nesting spots for overwintering insects. Give yourself a break and help your garden buddies.  Instead of raking every bit of debris up, leave a layer of litter and debris in place to compost and to provide this needed habitat.  

Only use organic chemicals in your garden

One of the major reasons pollinator populations are in decline across the globe is exposure to harmful chemicals. Make your garden a safe place for bird and insect life (and in turn, many other forms of life) by avoiding toxic chemicals such as Weed and Feed, Preen, Nicotine-based sprays (aka neo-nicotenoids) and other insect killers.

Learn more about pollinators:

Photo credit to Jennifer Reetz.